On-prem file share migration using Storage Mover
The following will have a step by step guide on how to use Azure Storage Mover to migrate data from a source into an Azure File Share
Prior to attempting this you will need either a HyperV or VMWare instance to host the agent as well as an on-prem file share as the data source
For this demo I just simply hosted the agent and a Server 2025 instance (to replicate an on-prem file server) locally on a HyperV server
The agent will need to have visibility of the file share so make sure these are networked together - the agent will also need an outbound connection to communicate with Azure
Prior to following this guide create a Storage Mover resource in Azure
Connect to a source
First configure either a HyperV or VMWare VM using the Azure Storage Mover VHD
In this guide I chose to use HyperV but the setup after booting into the VM will be the same
If using HyperV make sure to set the VM to boot as Gen1 - Gen2 HyperV VMs will not boot into the image
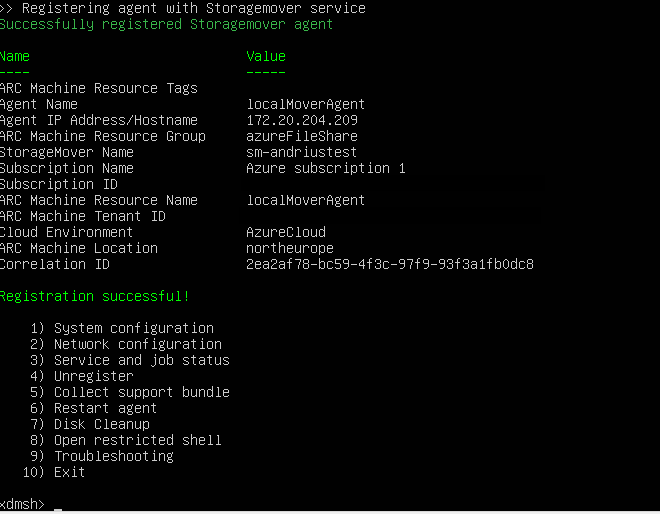
Once you boot into the VM go through the setup steps to register the agent, if you follow the steps correctly you will get a confirmation that the VM is registered and it will also appear in the Storage Mover resource
Note that the agent has reserved names so do not name your agent ‘HyperV’ or any variant of it

You will also need to add both a source and target endpoint within the Storage Mover resource:
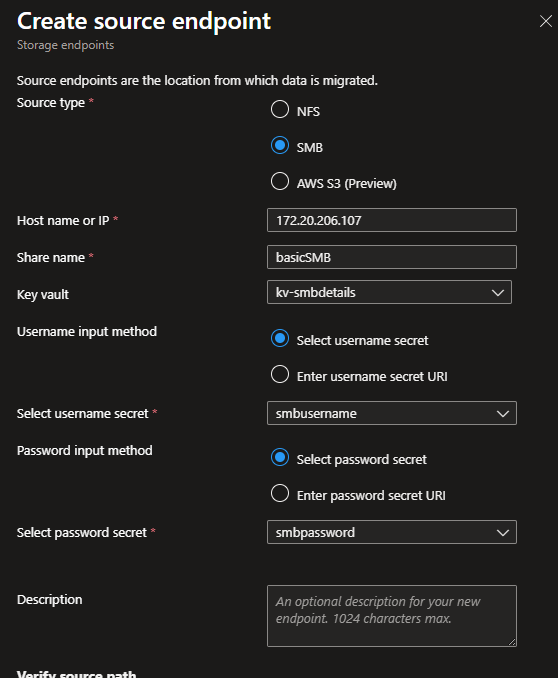
Source endpoint
Since I am migrating an SMB share I'll need to specify credentials that the agent can use to access the file share Simply create a KV and create a secret for both SMB username & passwordFill out the rest of the information and then add the source endpoint
Target endpoint
First create a storage account with a file share - I chose to use an Azure V2 File Share as it has more predictable pricing but any File Share SKU will work Once the file share is provisioned simply map the target endpoint to it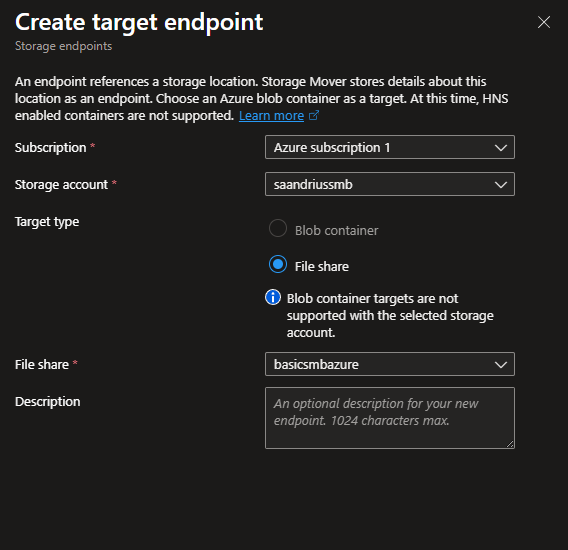
Create a migration project
After you create both source & target endpoints create a migration project, this is simply just providing a name at this stage
Create a job
Once created click into the project you just made and ‘create job definition’
Here specify the basic settings and then point both the source & target to the endpoints you made prior
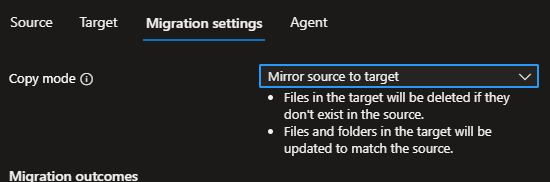
Finally you need to specify your ‘copy mode’, this is how your files will be copied to the Azure File Share:
Mirror source to target:
Initially this will simply run a copy of the on-prem File Share to Azure, however for future runs this will delete any files that exist in the Azure File Share but not the on-prem one
This option can be changed later on
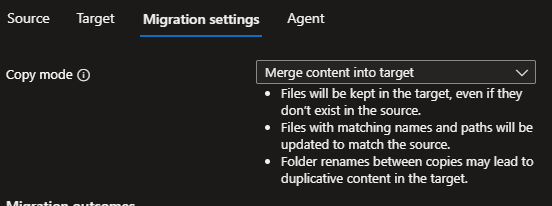
Merge content into target:
This will copy all files from the on-prem file share, and future runs will merge any new files from the on-prem file share into the Azure one
This means that no files will be deleted if they solely exist on the Azure file share
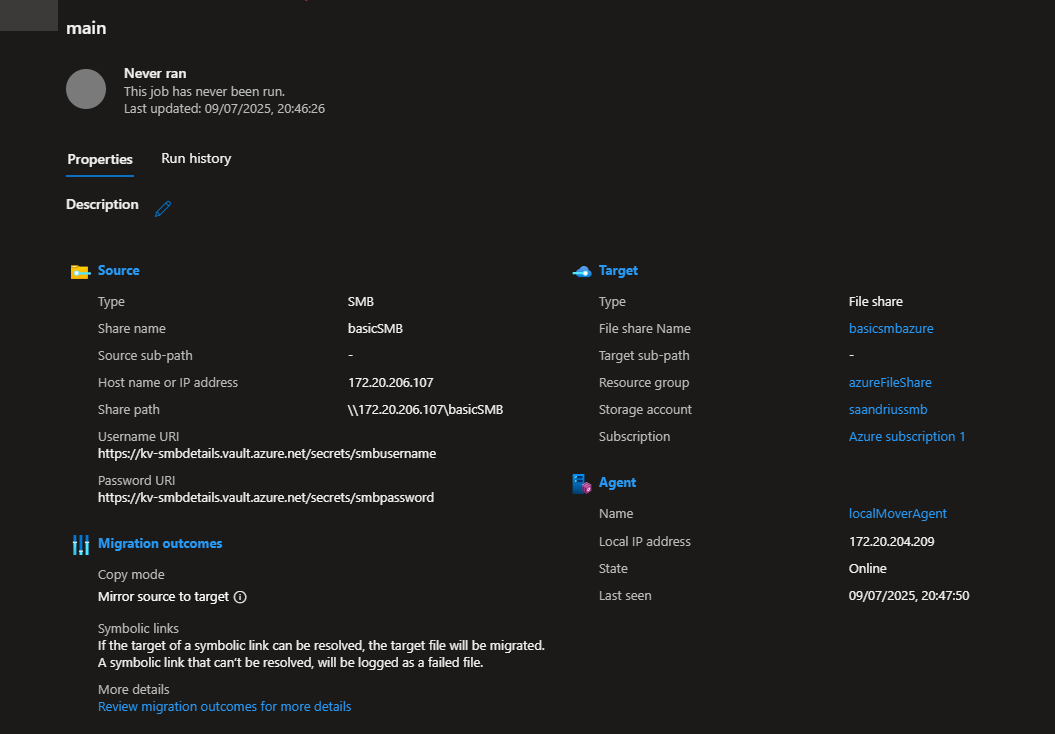
Once created review the job configuration
Results
I opted not to configure diagnostic settings for the Storage Mover resource but if this is being run in a prod environment make sure to configure this as it will report any failed file/folder transfers
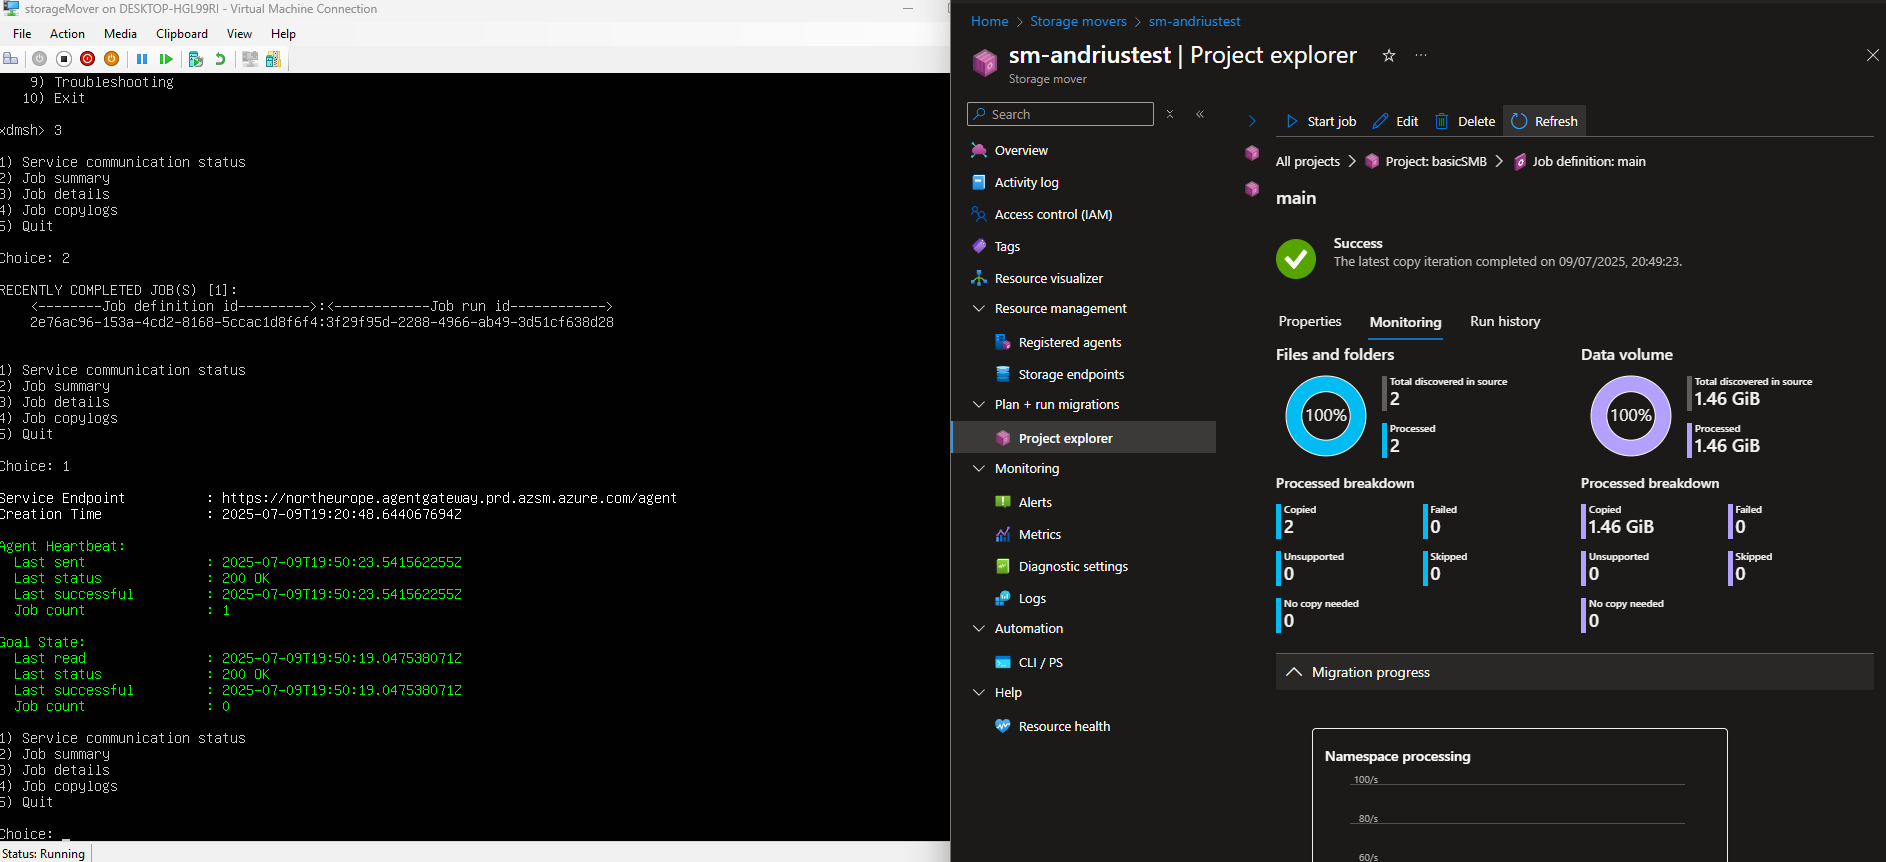
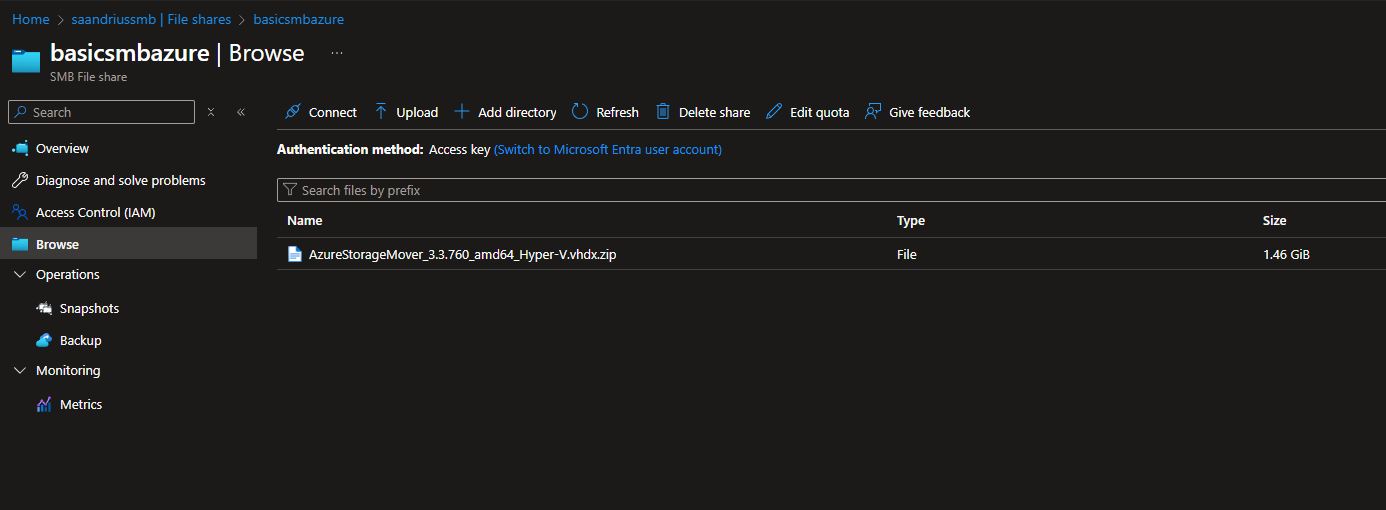
I then verified that the file had been uploaded into the Azure file share